Introduction:
Working with WordPress Multisite is a powerful platform that can cater to a variety of needs, from personal blogs to complex corporate websites. Among its many features, WordPress Multisite stands out as a valuable tool for managing multiple sites from a single WordPress installation. In this blog post, we’ll explore what WordPress Multisite is, its benefits, how to set it up, and best practices for managing your multisite network effectively.
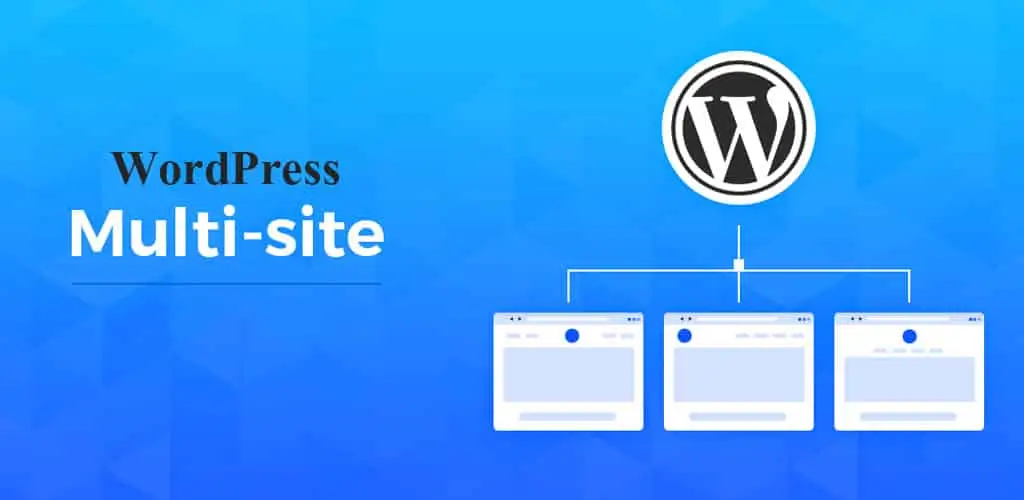
What is WordPress Multisite?
WordPress Multisite enables you to build a network of websites all managed under one WordPress installation. This means you can manage multiple websites from one dashboard, streamlining the process of site management, theme updates, plugin installations, and more. Every site within the network can feature distinct content, designs, and user accounts, while still utilizing the same core WordPress files.
Key Features of WordPress Multisite:
Centralized Management: Admins can manage all sites from one dashboard, simplifying updates and maintenance.
User Management: You can assign users to specific sites and control their access levels.
Shared Resources: Plugins and themes can be shared across the network, saving storage space and ensuring consistency.
Subdomain or Subdirectory Options: You can choose to structure your sites as subdomains (e.g., site1.example.com) or subdirectories (e.g., example.com/site1).
Benefits of Using WordPress Multisite:
1. Efficiency and Cost-Effectiveness:
Managing multiple sites individually can be time-consuming and costly. With Multisite, you save on hosting and maintenance costs, as you’re operating from a single installation. This can be particularly advantageous for businesses or organizations that need multiple sites for different departments or branches.
2. Simplified Updates:
When a new version of WordPress is released, you only need to update the core files once. This applies to themes and plugins as well, making it easier to keep everything up to date and secure.
3. Consistent Branding:
If your network of sites is related—like a university with multiple departments or a company with different product lines—Multisite allows you to maintain consistent branding and design across all sites.
4. Flexibility:
Each site can be customized individually, allowing for specific functionalities, themes, and content types while still being part of the larger network.
Setting Up WordPress Multisite
Working with WordPress Multisite allows you to manage multiple websites from a single WordPress installation, streamlining administration and resource usage. This powerful feature is ideal for organizations, schools, or businesses that need to host various sites while maintaining a centralized control panel. With Multisite, each site can have its own unique content, themes, and users, all while sharing the same core files. The setup process involves enabling the feature, configuring network settings, and customizing individual sites as needed. By leveraging WordPress Multisite, you can efficiently manage a diverse online presence with ease. Here’s a detailed guide to assist you in the setup process:
Step 1: Prepare Your WordPress Installation
Create a Backup of Your Site: Prior to implementing any modifications, make sure to secure a full backup of your WordPress installation.
Check WordPress Version: Ensure you’re using the latest version of WordPress.
Step 2: Enable Multisite
Access wp-config.php: Use FTP or your hosting file manager to find the wp-config.php file in your WordPress root directory.
Add Multisite Code: Add the following line above the line that says /* That’s all, stop editing! Happy blogging. */:
Step 3: Set Up the Network
Log in to WordPress Admin: Go to your WordPress dashboard.
Navigate to Tools > Network Setup: You’ll see a screen that allows you to choose between subdomains or subdirectories.
Subdomains: Each site will have a separate subdomain (e.g., site1.yourdomain.com).
Subdirectories: Each site will be a subdirectory of the main site (e.g., yourdomain.com/site1).
Fill in the Details: Provide a title for your network and your email address.
Click Install: After filling in the details, click the “Install” button.
Step 4: Update wp-config.php and .htaccess
Follow the Instructions: After clicking “Install,” you’ll see instructions to add more code to your wp-config.php file and to update your .htaccess file.
Edit wp-config.php: Add the provided lines to your wp-config.php file.
Step 5: Log In Again
Log Out and Back In: Log out of your WordPress admin and log back in.
Access Network Admin: You should now see a new option called “My Sites” in the top left of your WordPress admin bar. Hover over it and select “Network Admin.”
Step 6: Add New Sites
Go to Sites: In the Network Admin dashboard, navigate to “Sites” and click “Add New.”
Fill in the Details: Enter the site address (slug), site title, and admin email.
Click Add Site: After entering the details, click the “Add Site” button.
Step 7: Configure Settings
Manage Your Network: From the Network Admin, you can manage themes, plugins, users, and settings for each site.
Install Themes and Plugins: You can install themes and plugins from the Network Admin, making them available to all or selected sites.
Creating and Managing Sites
Adding a New Site:
- 1. Navigate to “My Sites” > “Network Admin” > “Sites.”
- 2. Click “Add New.”
- 3. Fill in the site address (slug), site title, and admin email address.
- 4. Click “Add Site.”
User Management:
To add users to a site:
- 1. Go to “My Sites” > “Network Admin” > “Users.”
- 2. Click “Add New.”
- 3. Enter the user’s email address and assign a role (Admin, Editor, etc.).
Plugin and Theme Management
Plugins: To install plugins for the entire network, go to “My Sites” > “Network Admin” > “Plugins.” Activate the plugins you want to use.
Themes: You can add themes by navigating to “My Sites” > “Network Admin” > “Themes.” Activate the themes you want to make available for your sites.
Best Practices for Managing WordPress Multisite
1. Choose a Reliable Hosting Provider:
Selecting a robust hosting provider is critical for performance, especially if you anticipate high traffic across your multisite network. Look for hosts that specialize in WordPress Multisite.
2. Regular Backups:
Implement a regular backup schedule for your entire multisite network. Use reliable backup plugins that support Multisite, ensuring you can restore individual sites if needed.
3. Optimize Performance:
Consider using caching solutions and Content Delivery Networks (CDNs) to improve site performance. Optimizing database queries and reducing image sizes can also enhance speed.
4. Keep Security Tight:
Security is paramount in a Working with WordPress Multisite environment. Use strong passwords, implement two-factor authentication, and regularly update themes and plugins to reduce vulnerabilities.
5. Monitor Site Activity:
Keep an eye on user activity and site performance. Regularly check for any suspicious activity or plugins that may be affecting the performance of your network.
6. Documentation:
Maintain thorough documentation for your network, including any custom configurations, settings, and processes. This will help streamline management and troubleshooting.
Conclusion:
Working with WordPress Multisite is an excellent solution for anyone looking to manage multiple sites efficiently and effectively. By centralizing management, streamlining updates, and providing flexibility, it can save you time and resources. With the right setup and best practices, you can leverage the power of WordPress to create a cohesive network of sites tailored to your specific needs. Whether you’re managing a corporate environment, a university, or a blog network, WordPress Multisite can help you achieve your goals with ease.
Also Read: How to Set Up and Manage a WordPress Network